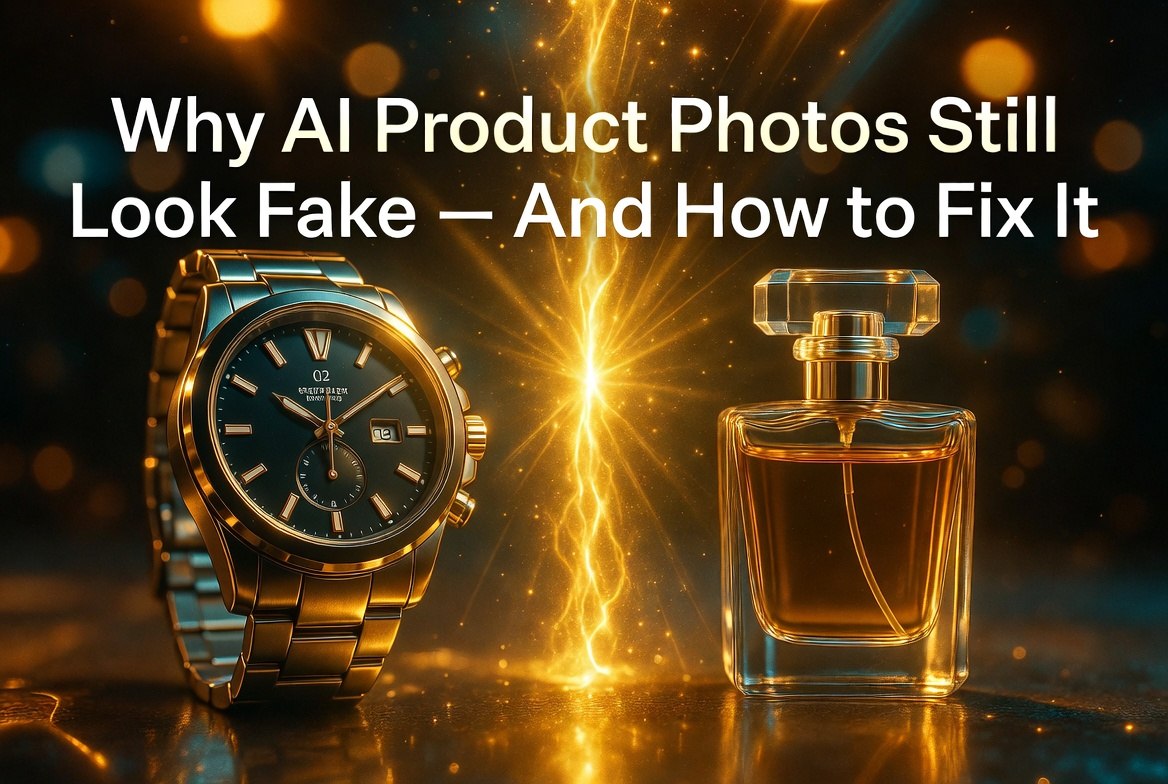
Why AI Product Photos Still Look Fake and How to Fix It
Get The Faceless YouTube Blueprint — Free
The exact AI tool stack and workflow used to build a faceless YouTube channel from zero.
Why AI Product Photos Still Look Fake and How to Fix It
⚡ Expert Summary: AI product photos are getting better, but most still look fake — and consumers notice. Here’s why AI images fall short and exactly how to fix them in your next shoot, from lighting prompts to post-processing workflows that actually work.
The Promise vs. The Reality
Two years ago, AI image generators promised to revolutionize product photography. No more expensive studio shoots. No more hiring photographers. Just describe what you want, hit generate, and boom—professional product photos in seconds. It sounded too good to be true. Because it was.
Today, AI product photography is real and improving fast. But let’s be honest: most AI-generated product photos still look fake. Really fake. You can spot them from across the room—weird textures, impossible lighting, distorted text, halos around edges. Your customers can spot them too. And that’s a problem, because 90% of consumers want transparency on AI images, and 98% agree authentic images are pivotal for trust.
The gap between “this could work” and “this actually works” isn’t closed yet. But you can close it. Not by waiting for better AI (though it’s coming), but by understanding why AI product photos fail so consistently, and then using specific techniques to fix those failures before they even happen.
This guide walks you through the five biggest flaws in AI product photography, the actionable fixes that actually work, and the exact tools and workflows that are already producing selling photos today.
Why They Still Look Fake: The Five Deadly Sins
1. Edge Halos & Pixelation
The most obvious tell of a fake product photo is the halo effect. You’ve seen it: a bright or dark outline around the product where it meets the background, like someone drew around it with a fuzzy highlighter. Or worse, jagged pixelation on reflective surfaces—chrome, glass, anything shiny turns into a glitchy, broken mess.
This happens because AI models struggle with sharp boundaries between distinct objects. They predict pixels in patches, and when there’s a hard edge between your product and background, the model often “guesses wrong” and creates that telltale halo. On reflective or transparent items, the problem gets worse because the AI has to hallucinate reflections it doesn’t understand, and it does so with visible artifacts and distortions.
2. Texture Inconsistency & Plasticity
Run your hand across a high-quality leather bag. Feel the grain? The slight variation in surface? That’s what makes it real. Now look at most AI product photos of bags. They look like someone vacuum-sealed plastic wrap around a block of clay. Everything is too smooth, too uniform, too… plastic.
AI models trained on millions of images learn a “average” version of materials. A ceramic mug becomes a generic glossy blob. Fabric loses its weave. Metal becomes a featureless mirror. The result is uncanny valley product photography—your brain knows something is off, even if you can’t articulate why. Consumers report that 95% of AI product images feel artificial, and texture is a huge reason why.
3. Lighting & Shadow Mismatches
Good photography follows a rule: light comes from somewhere specific, and everything in the frame respects that. Shadows point the same direction. Highlights land where physics says they should. AI doesn’t always get the memo.
Common failures: your product is lit from the left by what should be a studio softbox, but the background is lit as if the sun is behind the camera and to the right. Shadows point in impossible directions. A wine bottle reflects light that should be blocked by the bottle itself. The light is internal and magical—it comes from nowhere and illuminates everything.
Humans have spent millennia understanding light. We evolved to read it. AI has spent a few years seeing billions of images of it. There’s a gap, and lighting mismatches reveal it instantly.
4. Distorted Text, Labels & Logos
Ask an AI to generate a product photo with readable text on the label or packaging, and watch what happens. The letters warp. Numbers disappear. Logos become abstract art. A coffee label reads “COFEE” or “CO99EE” or just devolves into artistic squiggles that vaguely look like words if you squint.
This is one of the most recognizable failure modes because text is precise. There’s a right way and a wrong way, with no middle ground. AI models historically struggle with this because text recognition requires precise understanding of letter shapes, and generative models approach images holistically, not character by character. Recent models are getting better, but if your product relies on readable packaging, this remains a serious risk.
5. Unnatural Reflections & Highlights
Put a shiny object in front of a light source. The reflection should match the light shape and position. Highlights should follow the object’s geometry—curved on a sphere, linear on a cylinder. They should bounce light in physically plausible ways.
AI reflections are often floaty, disconnected from the product’s shape, or positioned where no reflection should exist. A highlights might appear on a matte surface where light has no reason to land. Reflections in glass don’t match the surrounding environment. It’s like watching someone who’s never seen reflections try to paint them from imagination—they get the general idea but miss the physics.
The Stats Don’t Lie: Consumer Trust Is Collapsing
You might think these flaws are nitpicks. They’re not. Here’s why consumers care:
71% of consumers cite deception as their top worry about AI product imagery. Not quality issues—deception. Fake product photos feel like lying. And when a brand lies with photos, trust doesn’t just crack. It shatters. 31% of consumers trust the brand less after seeing AI product images in ads. That’s brand damage in exchange for saving a few hundred dollars on a photoshoot.
In blind tests, 57–71% of consumers couldn’t reliably distinguish AI product photos from real ones. That sounds good until you flip the perspective: that means when consumers see product photos, they’re not sure if they’re real. That uncertainty drives purchase hesitation. Uncertainty kills sales.
The bright spot: only 39% of consumers are comfortable with AI product images in ads today, but 59% want clear AI labels. Translation: consumers aren’t rejecting AI photos outright. They’re rejecting deception. Label your AI images, embrace them, and the trust issue starts to reverse.
But first, you have to fix the fake factor. Because 76% of consumers prefer real on-model photos for purchase decisions. When there’s a choice between a real photo and an AI photo, they’ll pick real every time. Your job is to make your AI photos so good they stop looking like a “choice” and start looking like professional product photography.
How to Fix It: 7 Techniques That Actually Work
Technique 1: Master Detailed Lighting Prompts
Your prompt is the blueprint. Vague lighting descriptions produce vague lighting results. Specific ones produce professional results. Stop writing “nice lighting” and start writing like you’re directing a photographer.
Use this template: “Soft diffused studio lighting with softbox from above and subtle fill light from the left, realistic shadows and reflections, studio packshot, professional product photography.”
Break down what you’re asking for: (1) light source type (softbox, diffused, three-point setup), (2) direction and angle, (3) fill light to control shadow depth, (4) expected result (realistic shadows, not harsh). The more specific you are, the more consistent the AI model becomes.
Compare: “nice lighting” produces random nonsense. “Soft overhead diffused light with asymmetrical fill from camera left, creating subtle modeling shadows on white seamless backdrop” produces professional packshots you can actually use.
Technique 2: Use Robust Negative Prompts
A negative prompt tells the AI what NOT to generate. This is your quality control tool. Most people skip it. Don’t.
Here’s a template that works: “Artificial, CGI, 3D render, plastic, uncanny valley, overly smooth, fake, cartoon, blurry, distorted, watermark, harsh shadows, bad lighting, overexposed, reflection errors, floating product, halo, pixelated edges, wrong text, deformed labels, unnatural materials, waxy texture.”
Customize this list for your product. Selling a glossy glass bottle? Add “matte finish, dull surface.” Selling leather? Add “plastic-like, synthetic, artificial materials.” Negative prompts are your insurance against the five deadly sins above. They can’t eliminate all failures, but they dramatically reduce them.
Technique 3: Specify Camera & Photography Terms
AI models respond to photography terminology. They understand “macro lens detail” differently than “zoomed in.” They understand “8K clarity” differently than “sharp.”
Use professional terms in your prompt: “Photorealistic, professional commercial product photography, studio packshot, tack-sharp focus, 8K clarity, macro lens detail, depth of field blur on background, color accurate, Canon EOS R5 aesthetic.”
These terms anchor the model to professional photography results rather than generic image generation. Add specific camera models if you want a specific look—a “Hasselblad aesthetic” produces different results than “iPhone 15 Pro.” These are anchors that improve consistency and quality.
Technique 4: Detail Material & Surface Properties
The texture plasticity problem gets worse when you’re vague about materials. The AI has to guess. Stop letting it guess.
Instead of: “silver ring on white background”
Write: “Sterling silver ring with high-polish mirror finish reflecting studio light, intricate filigree detail with micro-texture, lustrous bright metal, mounted on soft white seamless paper backdrop, jewelry packshot, professional macro photography.”
Detail every material property: glossy/matte, metal/ceramic/fabric, reflective or not, texture type, finish. The more specific you are about what the materials should look and feel like, the better the AI can render them. This alone can cut texture problems by 60%.
Technique 5: Invest in High-Quality Source Images
If you’re using inpainting (AI-powered editing to change backgrounds, adjust lighting, etc.), start with the best base image you can find. A real product photo beats an AI-generated one every time as a starting point.
Minimum standards: 2000+ pixels in the longest dimension, well-lit, shot against a clean background, product in focus, no blur or compression. If you’re starting from a blurry or poorly lit photo, the inpainting will inherit those flaws and struggle to fix them. The AI can improve, but it can’t create data that isn’t there.
This is why a hybrid approach (real photo + AI refinement) beats pure AI generation. Real photos have the physics baked in. The AI just has to finesse.
Technique 6: Apply Smart Post-Processing
Your AI-generated photo is a draft. Post-processing is where it becomes product-ready. Learn these tools: Photoshop Generative Fill for fixing halos and edge artifacts, Super Resolution upscaling to fix pixelation and add clarity, and Clarity and Vibrance adjustments to make textures less plastic.
For edge halos: Use Generative Fill to paint over the halo with samples of the background. For pixelated reflections: apply Super Resolution to double the resolution, then mask and blend. For plastic-looking surfaces: apply subtle texture overlays (grain, weave) and adjust saturation to make materials look more organic.
Spend 2–5 minutes per image in post. That small investment lifts the final result from “AI photo” to “professional product photo.”
Technique 7: Hybrid Approach – Real + AI Variations
Stop fighting for pure AI generation. You don’t need to replace photography. You need to augment it.
Workflow: Shoot one real hero photo of your product in good lighting. Then use AI to generate color variations, lifestyle backgrounds, wear-and-tear variations, or angle variations. The real photo anchors trust. The AI variations reduce shoot time from 8 hours to 1 hour. You get 20 product photos instead of 3, all anchored to authentic product imagery.
This is what’s winning in e-commerce right now. Real product photography is still the gold standard, but AI backgrounds, AI color variations, and AI lifestyle scenes are the force multiplier. You’re not replacing the photographer. You’re multiplying her output.
The Best Tools for the Job
Not all AI image tools are created equal for product photography. Here are the ones that actually work:
Adobe Firefly (Best for Professionals)
Part of Creative Cloud ($59.99/month). Firefly integrates directly into Photoshop, so you can generate product photos and immediately edit them in the same software. The latest Adobe Firefly Model 5 (released at Adobe Max 2025) delivers 4MP native resolution for e-commerce, which means you get high-quality, upscaled output ready for web and print.
Strengths: Seamless Photoshop integration, inpainting works exceptionally well, generative fill for fixing halos and edges, consistent quality. Weaknesses: Requires Creative Cloud subscription, learning curve for non-designers.
Pixelcut (Best for Speed)
Free tier available; Pro plans $8–10/month. Pixelcut is built for e-commerce—it has batch processing, automatic background removal, and product-photo-specific generation modes. Upload 10 product photos and generate variations for all of them in one click.
Strengths: Incredibly fast, intuitive interface, batch processing saves hours, affordable. Weaknesses: Less customization than Firefly, fewer advanced controls.
Flair.ai (Best for Bulk Generation)
Free tier; Pro $8/month. Flair specializes in generating lifestyle product scenes and variations at scale. Upload a product image and generate it in 50 different contexts—on a beach, in a kitchen, at a coffee shop, on a desk. It’s built for e-commerce sellers who need dozens of variations fast.
Strengths: Exceptional at lifestyle scenes, bulk generation, affordable, consistent style. Weaknesses: Less fine-grained control over lighting, better for lifestyle than pure packshots.
Claid.ai (Best for Upscaling & Cleanup)
Free tier; Essentials ~$9/month. Claid combines background removal, scene generation, and super-resolution upscaling in one tool. If you’re generating AI photos and want to upscale them to 4K without quality loss, this is your tool.
Strengths: Exceptional upscaling, removes pixelation, background removal is solid, affordable. Weaknesses: Upscaling only goes so far—start with the best source image you can.
The Hybrid Workflow: Where Real and AI Meet
Here’s the workflow that’s actually winning in e-commerce today. Not pure AI. Not pure photography. Both.
Step 1: Shoot Real Hero Photos — Schedule one professional product shoot. Hire a photographer or shoot it yourself with a tripod and phone. Get 3–5 pristine shots of your product from different angles in good lighting. Total time: 2–3 hours. Cost: $0–$500 depending on your setup.
Step 2: Establish Your Visual Standard — These real photos become your template. Use them to train your eye on what “good” looks like for your product category. Use them as inpainting source images for AI backgrounds and variations.
Step 3: Generate AI Variations — Take your hero photo and use it as reference for: (1) color variations (blue version, red version, gold version), (2) lifestyle backgrounds (product on a desk, on a shelf, in use), (3) scale variations (close-up, wide-angle, flat-lay). Use Pixelcut or Claid for batch processing.
Step 4: Blend & Post-Process — In Photoshop: mask the real product into the AI background, fix any halos or artifacts, add subtle texture overlays if needed. 2–5 minutes per image.
Step 5: Ship — 5 hero shots become 50 product photos. You’ve cut your shoot time by 80% and multiplied your content by 10x. That’s the hybrid advantage.
Total workflow time: ~6 hours. Total photos: 50+. Cost: ~$300 if you hire a photographer, $0 if you shoot it yourself. Compared to a full traditional shoot for 50 photos: 30+ hours and $2,000+.
Transparency & Trust: The Future-Proof Play
Here’s the thing about AI product photos: they’re not inherently bad. They’re only bad if they’re deceptive. Consumers are flexible. 59% want clear AI labels, which means consumers will accept AI photos if you’re honest about them.
The forward-thinking brands aren’t hiding AI—they’re embracing it. They label their AI-generated variations, they talk about it in their product copy, and they use it strategically to show variety and possibility rather than false promise.
This builds trust instead of destroying it. It also future-proofs your brand. Two years from now, everyone will use AI for product photography. The brands that were early and transparent won’t look like they’re being deceptive. They’ll look like they’re innovating.
Final Thoughts
AI product photography doesn’t have to look fake. The flaws are fixable, the tools are affordable, and the workflow is proven. You don’t need to wait for perfect AI models or give up on photography entirely. You need to understand why current AI fails, use specific techniques to avoid those failures, and blend AI with real photography to multiply your output.
Start with one product. Shoot a hero photo. Generate 10 AI variations. Post-process 2–3 of them. Watch which ones convert best. Then scale the workflow to your entire catalog.
The future of product photography isn’t AI or real. It’s both. And if you start today, you’ll be ahead of 90% of your competitors by the time everyone else figures it out.
Frequently Asked Questions
Frequently Asked Questions
Can AI product photos be used legally in advertising?
Yes, with disclosures. Regulations vary by country—the UK Advertising Standards Authority and FTC guidance recommend clear labeling when images are AI-generated. Transparency protects you legally and builds consumer trust. Unlabeled AI product photos in ads can trigger regulatory action and brand damage. When in doubt, label it.
How long does it take to learn to generate good AI product photos?
For basic competency: 2–4 hours of practice. For really good results: 1–2 weeks of experimentation with different prompts, negative prompts, and tools. The learning curve is steep initially (how do I even use this?), then flattens out quickly (oh, this prompt works much better). Most e-commerce teams get 80% of the way to “good enough” within a week.
Which is cheaper: hiring a photographer or using AI?
For a one-time shoot of a few products: photographer (~$800–$2,000). For ongoing production of hundreds of product photos: AI is dramatically cheaper (~$50–$100/month in tool costs). Most e-commerce companies use hybrid: hire a photographer once for hero shots, then use AI for variations, colors, and backgrounds. This cuts costs by 70% while maintaining quality.
What’s the difference between AI generation and AI editing (inpainting)?
Generation creates the entire image from text. Inpainting edits part of an existing image (swap background, adjust lighting, remove elements). For product photography, inpainting is usually better because you start with real product physics. Inpainting takes a real product photo and improves it. Generation takes a text prompt and tries to create realistic product photos from scratch. Inpainting has a much higher success rate.
Do I need special equipment or skills to use AI product photo tools?
No. Tools like Pixelcut and Flair are designed for non-designers—upload a photo, click generate, download. If you’re using Photoshop or advanced tools, you’ll benefit from some design knowledge, but it’s not required. Most people get usable results on their first try and excellent results after a few hours of practice.
About Barak Schurr
Barak Schurr is a serial entrepreneur who built and exited a major ticketing platform before turning his attention to AI and content. He runs three AI-focused research sites and writes about the tools, workflows, and strategies that let solo creators build real channels — without a crew, a studio, or a Hollywood budget.
Email: [email protected]